Dish Washer Not Getting Water: Troubleshooting and Fixes
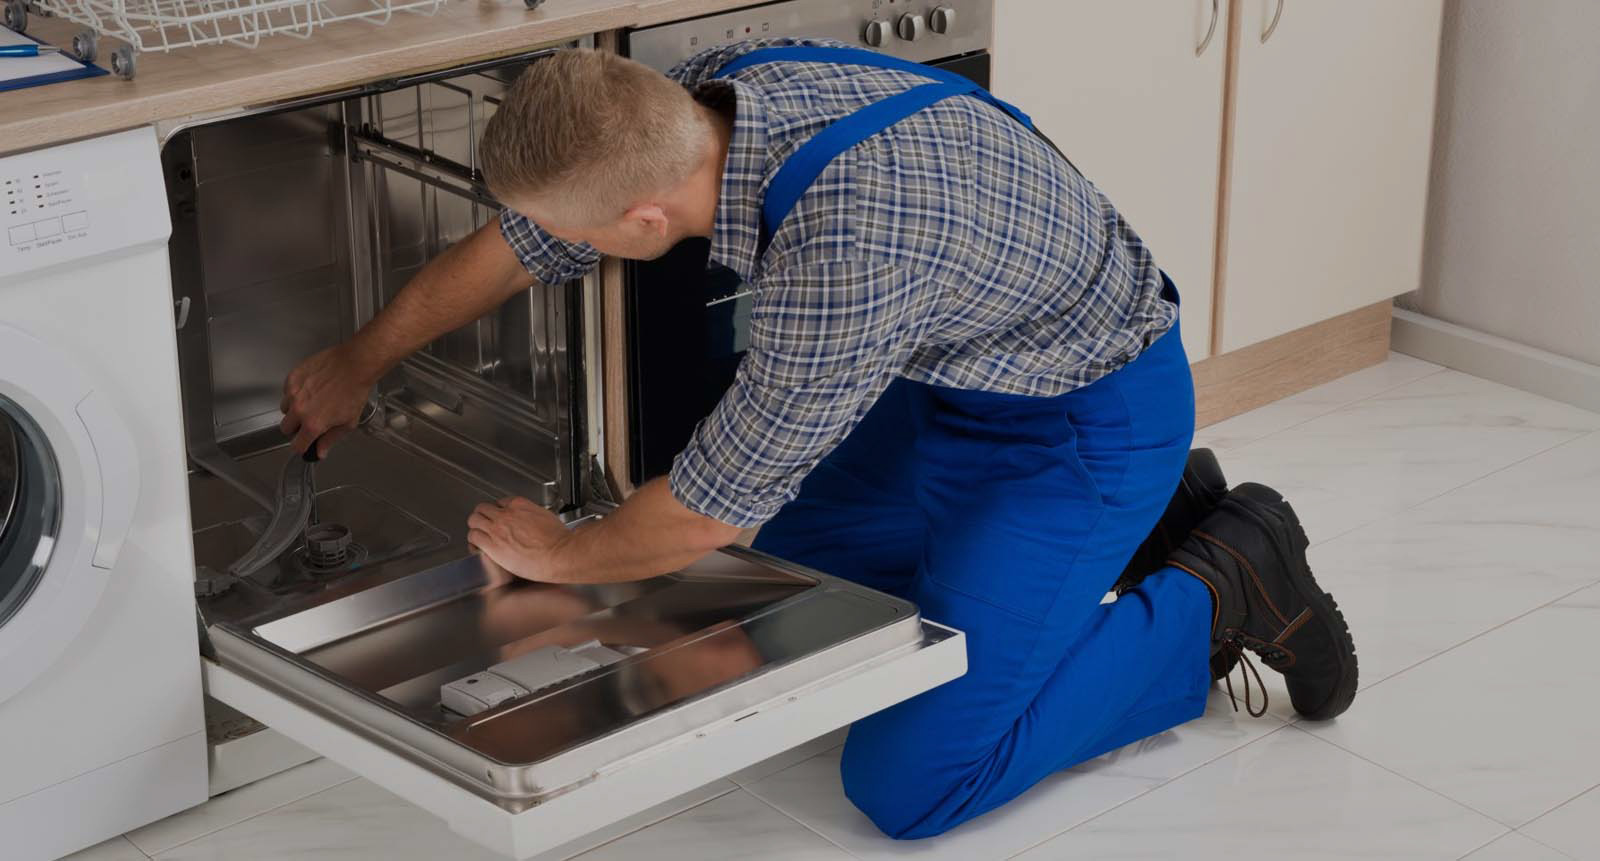
A dishwasher not getting water may result from a clogged inlet valve or a malfunctioning float switch. Checking these parts can resolve the issue.
A dishwasher is an essential appliance in modern kitchens, making daily chores more manageable. When it stops getting water, it can disrupt your routine and create additional stress. Understanding the common causes of this problem can help you troubleshoot effectively.
Clogged inlet valves and malfunctioning float switches are frequent culprits. Regular maintenance and periodic checks can prevent such issues. By addressing these problems promptly, you can ensure your dishwasher runs efficiently and prolong its lifespan. Knowing how to identify and fix these issues can save you time and money, making your kitchen operations smoother.
Common Causes
Is your dishwasher not getting water? This can be frustrating. Knowing the common causes can help you fix them quickly. Below are the main reasons why this happens.
Water Supply Issues
One of the most common causes is water supply issues. Check if the water supply valve is open. If it is closed, the dishwasher won’t get water. Ensure the water pressure is adequate. Low water pressure can also cause problems.
| Possible Issues | Quick Fixes |
|---|---|
| Closed Water Valve | Open the valve |
| Low Water Pressure | Check with a plumber |
Inspect the water supply hose. It should be free from kinks and damage. Replace if necessary. Also, check the water filter. A clogged filter can block water flow.
Faulty Inlet Valve
A faulty inlet valve can also be a problem. The inlet valve controls water flow into the dishwasher. If it is broken, water won’t enter the machine.
- Unplug the dishwasher.
- Locate the inlet valve.
- Inspect it for any signs of damage.
If the inlet valve is faulty, it needs replacement. You can find a new valve at any appliance store. Follow the manufacturer’s instructions for replacement. This will ensure proper installation.
By checking these common causes, you can often solve the problem yourself. This will save you time and money.

Credit: m.youtube.com
Checking The Water Supply
If your dishwasher is not getting water, check the water supply. This guide helps you inspect the water supply step-by-step.
Inspecting The Tap
First, ensure the water tap is fully open. Sometimes, the tap might be partially closed. Turn the tap counterclockwise to open it completely.
If the tap is open and no water flows, there might be a blockage. Clean the tap to remove any debris.
Checking The Hoses
Next, check the water hoses. Hoses might be kinked or bent, restricting water flow. Straighten any bends in the hoses.
Ensure the hoses are not damaged or leaking. Replace any damaged hoses immediately.
Look for any clogs in the hoses. Disconnect the hoses and run water through them to clear any blockages.
| Step | Action |
|---|---|
| 1 | Inspect the tap |
| 2 | Check for kinks in hoses |
| 3 | Look for hose leaks |
| 4 | Clear any hose clogs |
Inspecting The Inlet Valve
Is your dishwasher not getting water? The culprit might be the inlet valve. This valve controls water flow into the dishwasher. Regular inspection can help identify issues early. Here’s how to inspect the inlet valve effectively.
Testing For Continuity
Testing for continuity ensures the valve works. You will need a multimeter. Follow these steps:
- Unplug the dishwasher.
- Locate the inlet valve.
- Disconnect the wires from the valve terminals.
- Set your multimeter to the lowest resistance setting.
- Place the probes on the valve terminals.
The multimeter should show a reading between 500 and 1500 ohms. If not, the valve is faulty.
Replacing A Faulty Valve
If the valve is faulty, replace it. Follow these steps:
- Turn off the water supply.
- Remove the dishwasher’s access panel.
- Disconnect the inlet valve from the water supply line.
- Unplug the electrical connections.
- Remove the faulty valve.
- Install the new valve by reversing these steps.
Ensure all connections are secure. Turn on the water supply and test the dishwasher.
| Step | Action |
|---|---|
| 1 | Turn off water supply |
| 2 | Remove access panel |
| 3 | Disconnect water line |
| 4 | Unplug electrical connections |
| 5 | Remove faulty valve |
| 6 | Install new valve |

Credit: www.kitchenaid.com
Examining The Float Assembly
If your dishwasher is not getting water, the float assembly might be the issue. The float assembly prevents overflows by controlling water levels. A malfunctioning float can block water from entering the dishwasher. Let’s explore the steps to clean and test the float assembly.
Cleaning The Float
The float can get dirty over time. Cleaning it might solve the issue. Follow these steps:
- Locate the float inside the dishwasher. It’s usually a small plastic device at the bottom.
- Lift the float gently to remove it. Be careful, as it is delicate.
- Clean the float with warm, soapy water. Use a soft brush to remove any debris.
- Rinse the float thoroughly. Ensure there’s no soap residue left.
- Reinstall the float by placing it back in its position.
A clean float can move freely. This ensures proper water flow.
Testing The Float Switch
The float switch signals the water valve to open or close. Testing it ensures the signal works correctly. Follow these steps to test the float switch:
- Unplug the dishwasher for safety.
- Locate the float switch. It’s usually beneath the float.
- Use a multimeter to check the switch. Set the multimeter to the continuity setting.
- Press the float down and place the multimeter probes on the switch terminals.
- If the switch is working, the multimeter will beep. No beep means the switch is faulty.
Replace the faulty switch to restore water flow.
By examining and maintaining the float assembly, you can ensure your dishwasher gets the water it needs. Clean and test the float regularly to avoid future issues.
Assessing The Door Switch
Your dishwasher might not be getting water due to a faulty door switch. The door switch signals the dishwasher to start the wash cycle. If this switch is broken, the dishwasher won’t fill with water. Here’s how to assess and fix it.
Checking For Damage
First, check the door switch for any visible damage. Open the dishwasher door and look for the switch, usually located near the latch. Ensure there are no cracks or broken pieces. Use a multimeter to test the switch for continuity. If the switch fails the test, it needs replacement.
| Step | Action |
|---|---|
| 1 | Open the dishwasher door. |
| 2 | Locate the door switch near the latch. |
| 3 | Inspect the switch for visible damage. |
| 4 | Use a multimeter to test for continuity. |
Replacing The Switch
If the door switch is damaged, replace it. Follow these steps:
- Unplug the dishwasher from the power source.
- Remove the screws from the inner door panel.
- Disconnect the wires attached to the switch.
- Remove the old switch and install the new one.
- Reconnect the wires to the new switch.
- Screw the inner door panel back in place.
- Plug the dishwasher back into the power source.
Ensure the new switch is securely in place. Test the dishwasher to see if it now fills with water.

Credit: tigermechanical.net
Evaluating The Timer
If your dishwasher is not getting water, the issue might be with the timer. The timer controls many functions, including the water flow. Evaluating and testing the timer can help identify the problem.
Testing The Timer Motor
First, locate the timer motor inside your dishwasher. You can find it behind the control panel. Remove the screws holding the panel and gently lift it off.
- Disconnect the power to avoid electrical shock.
- Use a multimeter to test the timer motor.
- Set the multimeter to the RX1 setting.
- Place the probes on the timer motor terminals.
If the multimeter shows continuity, the timer motor is working. If it doesn’t, the timer motor needs replacement.
Replacing The Timer
If the timer motor is faulty, you need to replace it. Follow these steps to replace the timer:
- Disconnect the dishwasher from the power source.
- Remove the screws from the control panel.
- Locate the timer assembly behind the panel.
- Disconnect the wires from the timer terminals.
- Take out the old timer by unscrewing it.
- Install the new timer in its place.
- Reconnect the wires to the new timer.
- Screw the control panel back into place.
- Reconnect the dishwasher to the power source.
Testing and replacing the timer can resolve water flow issues in your dishwasher.
Checking The Control Board
The control board is the brain of your dishwasher. If it’s faulty, the dishwasher might not get water. Here’s how to inspect it.
Inspecting For Burnt Components
First, unplug the dishwasher to ensure safety. Locate the control board, usually behind the control panel. Look for any burnt components or blackened areas. These signs indicate a problem.
| Step | Description |
|---|---|
| 1 | Unplug the dishwasher |
| 2 | Remove the control panel |
| 3 | Inspect the control board |
| 4 | Look for burnt components |
Resetting Or Replacing
If you see burnt components, reset the control board. To reset, press and hold the start button for five seconds. If the dishwasher still does not work, you might need to replace the control board.
- Resetting: Press and hold the start button.
- Replacing: Purchase a new control board.
- Follow the manufacturer’s instructions for installation.
Ensure the new control board is compatible with your dishwasher model. Properly installed, it should fix the water issue.
Preventative Measures
Keeping your dishwasher in top shape prevents water issues. Taking simple steps can save you time and money. Regular maintenance and proper usage keep your dishwasher running smoothly.
Regular Maintenance
Regular maintenance is key to a working dishwasher. Follow these steps:
- Clean the filter monthly. A clogged filter blocks water flow.
- Check the spray arms for clogs. Clean them with a brush.
- Inspect the door seal for cracks. Replace it if needed.
- Run a cleaning cycle with vinegar. It removes buildup and odors.
- Examine hoses for leaks. Tighten or replace them promptly.
Proper Usage Tips
Using your dishwasher correctly helps it last longer. Follow these tips:
- Load dishes properly. Avoid overcrowding to ensure water reaches all items.
- Use the right detergent. Avoid too much detergent to prevent residue buildup.
- Pre-rinse dishes to remove large food particles. This prevents clogs.
- Run the hot water in your sink before starting the dishwasher. It ensures hot water from the start.
- Avoid running the dishwasher with low water pressure. It may not clean dishes well.
Frequently Asked Questions
Why Is Water Not Coming Into My Dishwasher?
Water may not be coming into your dishwasher due to a clogged inlet valve, faulty door latch, or blocked filter. Ensure the water supply is on and check hoses for kinks.
Why Does My Dishwasher Sound Like It’s Running But No Water?
Your dishwasher might sound like it’s running but no water due to a clogged inlet valve, faulty water supply, or malfunctioning float switch. Check these components and clean or replace them if necessary.
Why Isn’t My Washer Filling With Water?
Your washer might not fill due to a clogged inlet filter, faulty water valve, or low water pressure. Check hoses and valves.
How Do You Fix A Dishwasher That Won’t Spray Water?
Check the spray arms for clogs and clean them. Ensure the water inlet valve is functioning. Inspect the pump and motor for issues. Verify that the dishwasher door closes properly.
Why Is My Dishwasher Not Getting Water?
A clogged inlet valve or kinked hose may block water flow.
How To Check Dishwasher Water Supply?
Ensure the water valve is fully open and hoses are not kinked.
Can A Faulty Inlet Valve Cause No Water?
Yes, a faulty inlet valve can prevent water from entering the dishwasher.
Why Is My Dishwasher Making A Humming Noise?
A humming noise can indicate a blocked or faulty water inlet valve.
Conclusion
A dishwasher not getting water can be frustrating, but solutions are often straightforward. By checking common issues like water supply, filters, and valves, you can usually resolve the problem quickly. Regular maintenance can prevent future water flow issues. Always consult your dishwasher’s manual for specific troubleshooting steps.
Proper care ensures efficient and long-lasting performance.

![Is Kenmore made by Whirlpool? [Unraveling The Mystery]](https://homelygenius.com/wp-content/uploads/2023/12/Is-Kenmore-made-by-Whirlpool-768x499.webp)
